Can Paint Protection Film Be Removed Safely Without Damage? Top Tips and Process Explained
Paint Protection Film (PPF) is a great way to keep your car looking fresh, but what happens when it's time to take it off? Many car owners worry that removing PPF will damage the paint underneath, and that hesitation can lead to frustration or costly mistakes. In reality, with the right approach and a bit of patience, you can remove PPF safely and cleanly, preserving your vehicle's finish. This guide breaks down exactly how to do it, step by step, so you won't have to guess or stress over every peel.
Yes, Paint Protection Film can be removed safely without damaging your vehicle's paint if done correctly. The key is to soften the adhesive using controlled heat methods such as steam or hot water, then carefully lift the film with plastic scrapers while avoiding metal tools. Using specialized adhesive removers like Eulex and practicing patience significantly reduces the risk of paint damage during removal.
Why Remove Paint Protection Film?
While PPF shields your car's paint from chips, scratches, and dirt, it isn't permanent. Over time, generally around five to seven years, the film naturally ages and can begin to degrade. This degradation often shows as yellowing, cracking, bubbling, or peeling, which ironically detracts from the very appearance it was meant to preserve. Continuing to leave degraded film on your vehicle may also trap dirt and moisture beneath the surface, speeding up deterioration underneath.
Age isn't the only reason for removal. Paint blemishes hidden beneath layers of film may worsen without proper attention, and removing the old layer allows professionals to assess and address underlying issues such as rust spots or chips.
Accident repairs also demand removal. If your vehicle has experienced a collision, the film must come off so technicians can properly access damaged panels and ensure paint or bodywork repairs bond correctly.
Upgrading technology is another common motivator. The auto care market continually evolves with new PPF products offering advanced self-healing properties or enhanced UV protection that older films don't provide. Installing fresh, state-of-the-art film helps maintain showroom shine and prolongs ultimate paint protection.
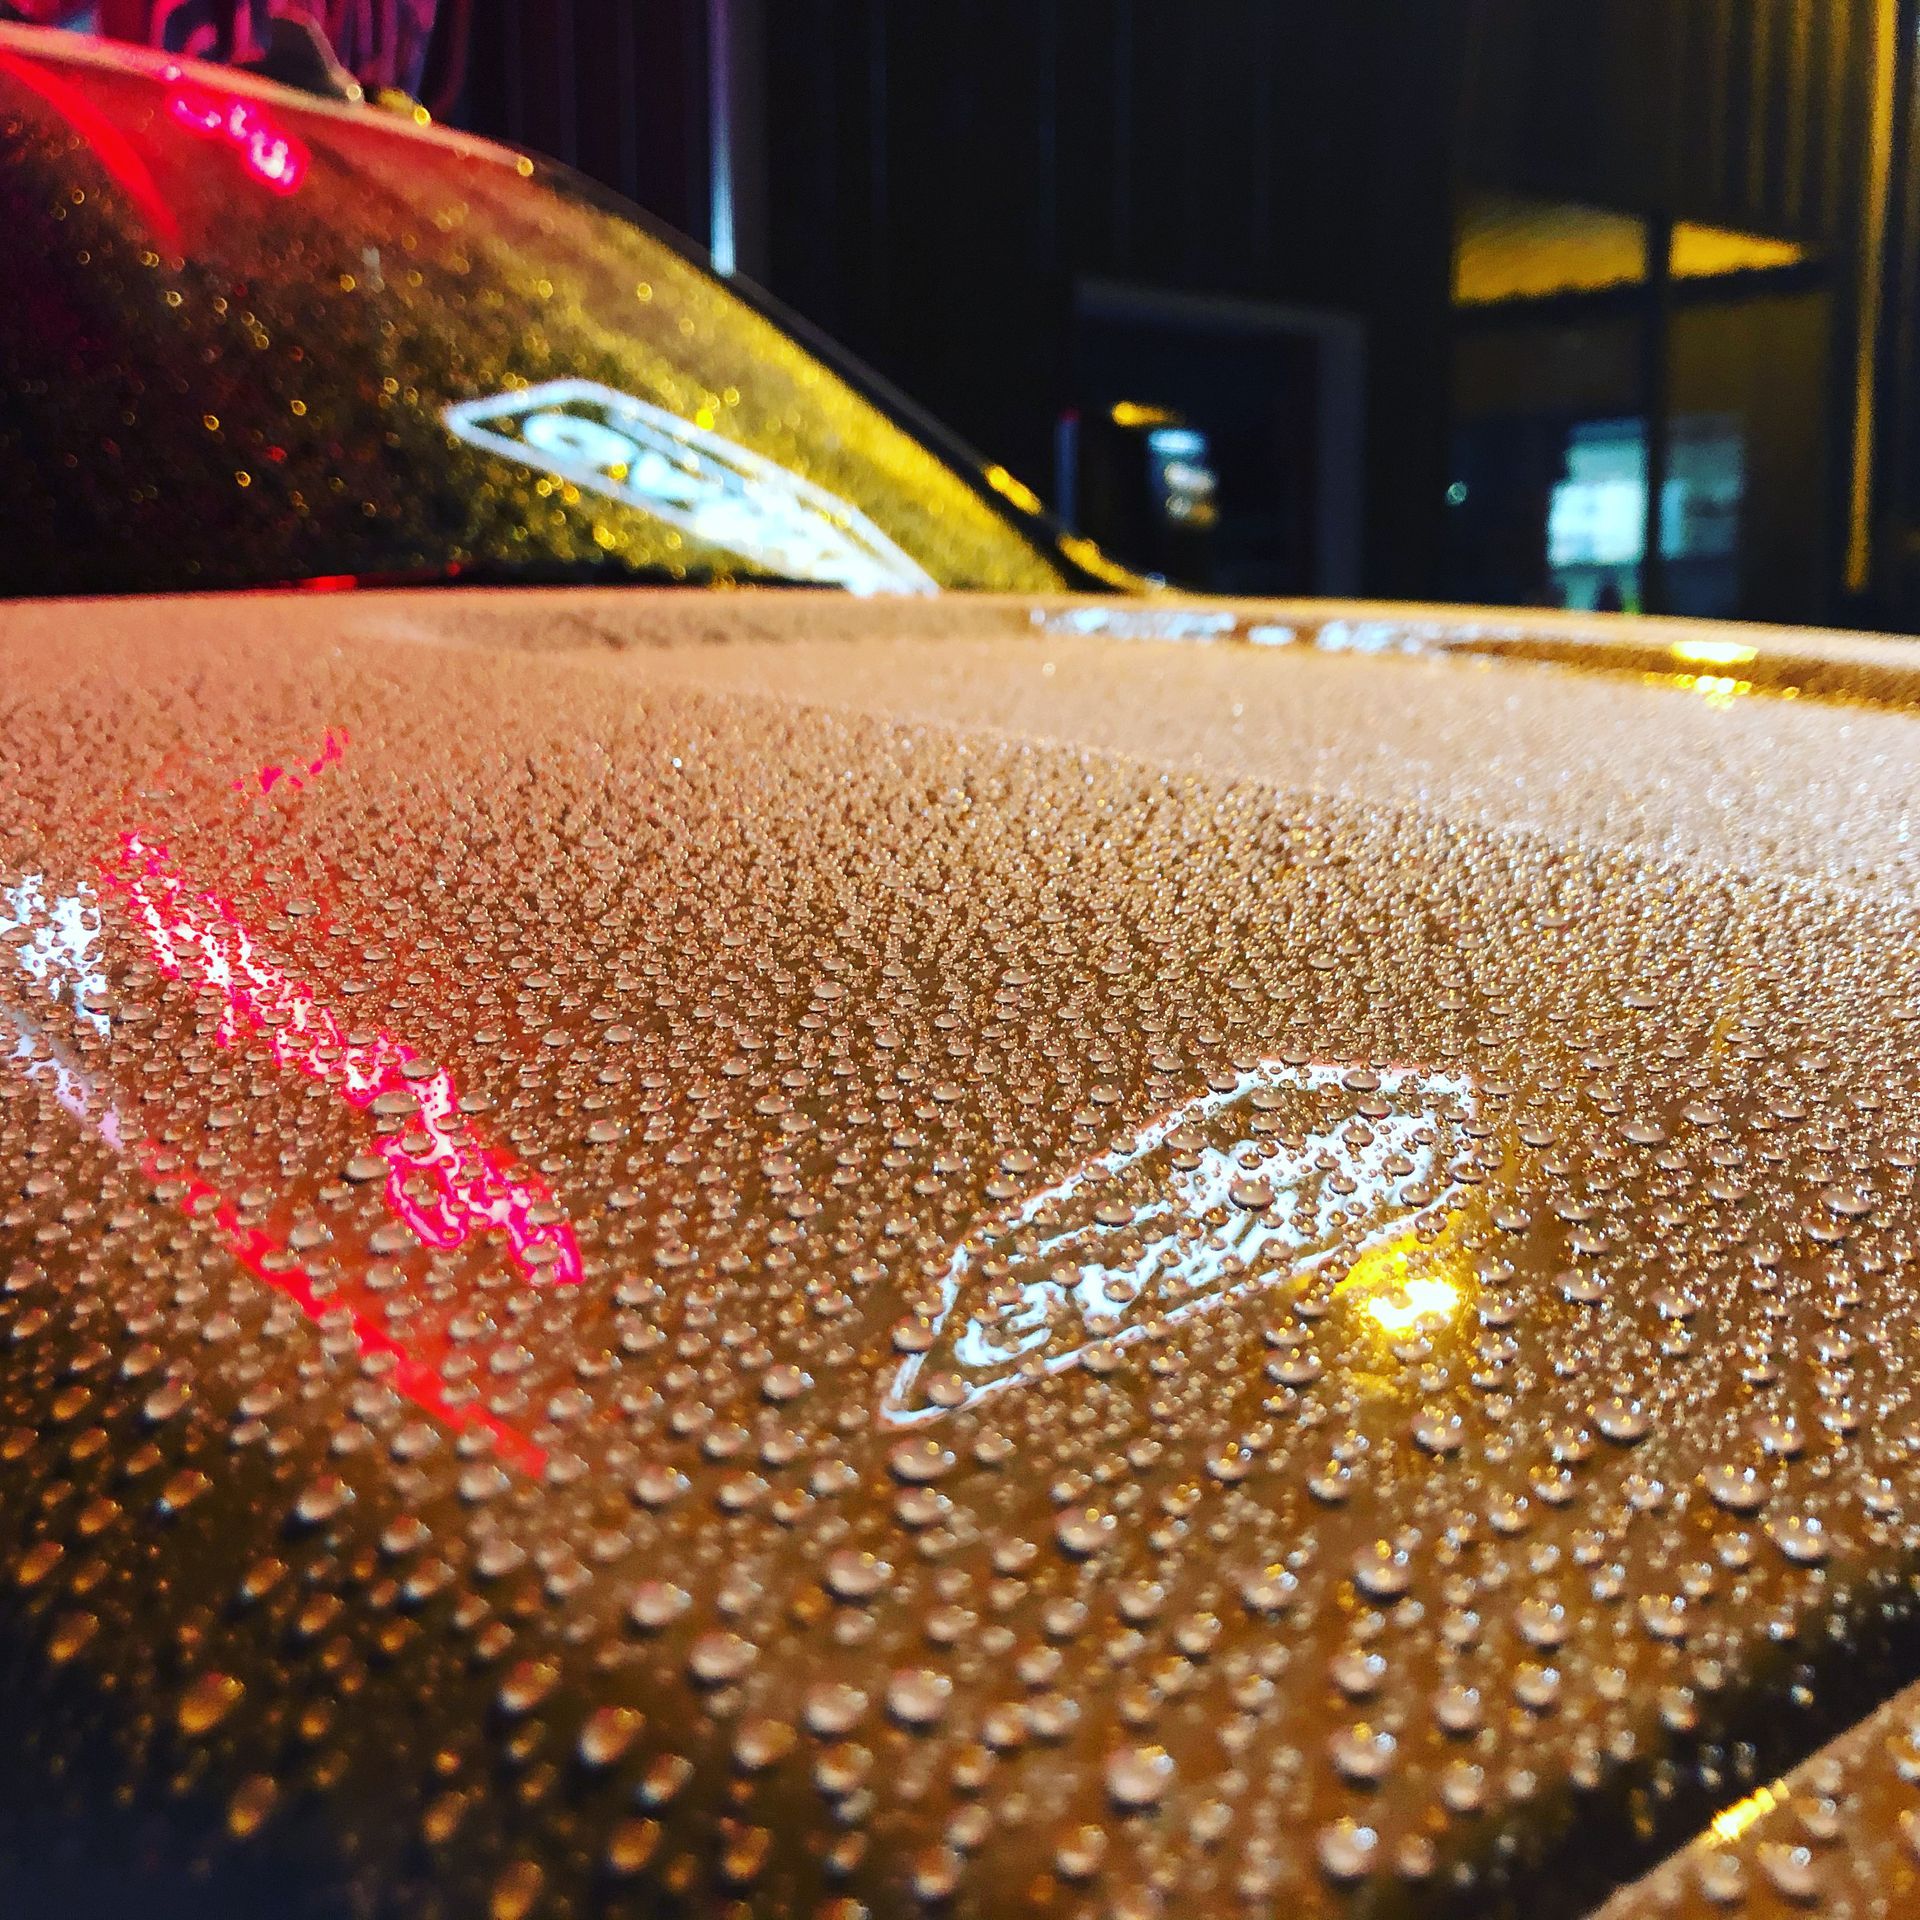
Environmental factors such as prolonged sunlight, extreme heat, or chemical pollutants can also accelerate PPF breakdown. Prolonged sun exposure can cause PPF to yellow or degrade, making timely replacement important to preserve your vehicle’s color and smooth finish.
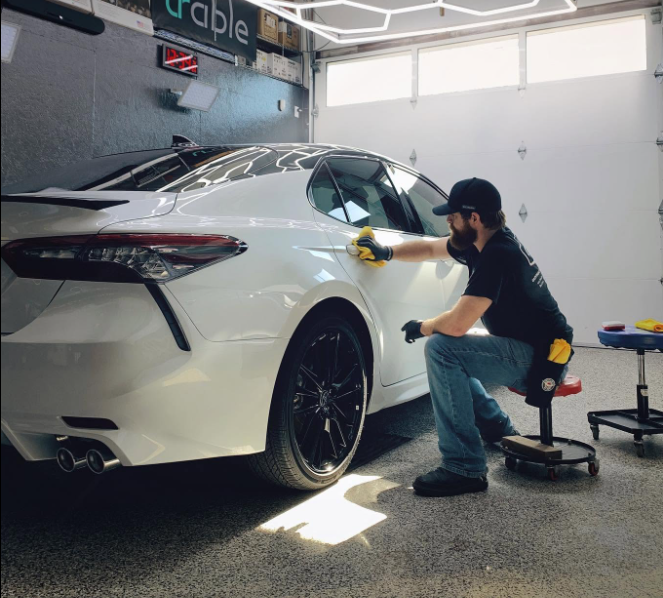
"Removing old film and upgrading to new material transformed my car's look completely," reported a detailer familiar with Garvin Auto Spa's PPF replacements.
Essential Tools and Materials
The right toolkit isn't just a convenience when removing PPF. It's a necessity. A heat gun or quality hairdryer gently warms the adhesive layer, softening its grip without risking damage to your clear coat. Plastic razor blades flex slightly to conform to curved surfaces while minimizing scratch risk, unlike metal blades that can gouge delicate paintwork.
Adhesive removers like Eulex or 3M adhesive removers dissolve leftover glue at the molecular level without harming paint. Microfiber towels trap loosened debris and absorb moisture without scratching or leaving lint behind.
For older or thicker installations, a steam cleaner is becoming an industry favorite. Controlled steam penetrates adhesive layers gradually and evenly, weakening bonds without overheating paint panels.
Each tool complements the others. Heating lifts the film edge so plastic razors can slide beneath safely, adhesive removers finish off sticky traces, and microfiber towels keep everything spotless afterward.

Effective Removal Methods
The key to safe PPF removal lies in understanding how adhesive reacts to heat and careful manipulation. Gentle warming softens the glue, reducing resistance and preventing sudden tears that could damage the surface beneath. Overheating damages clear coat and paint, so constant movement of the heat source is critical. Imagine waving a hot iron over fabric. You don't hold it still because it burns. The same concept applies.
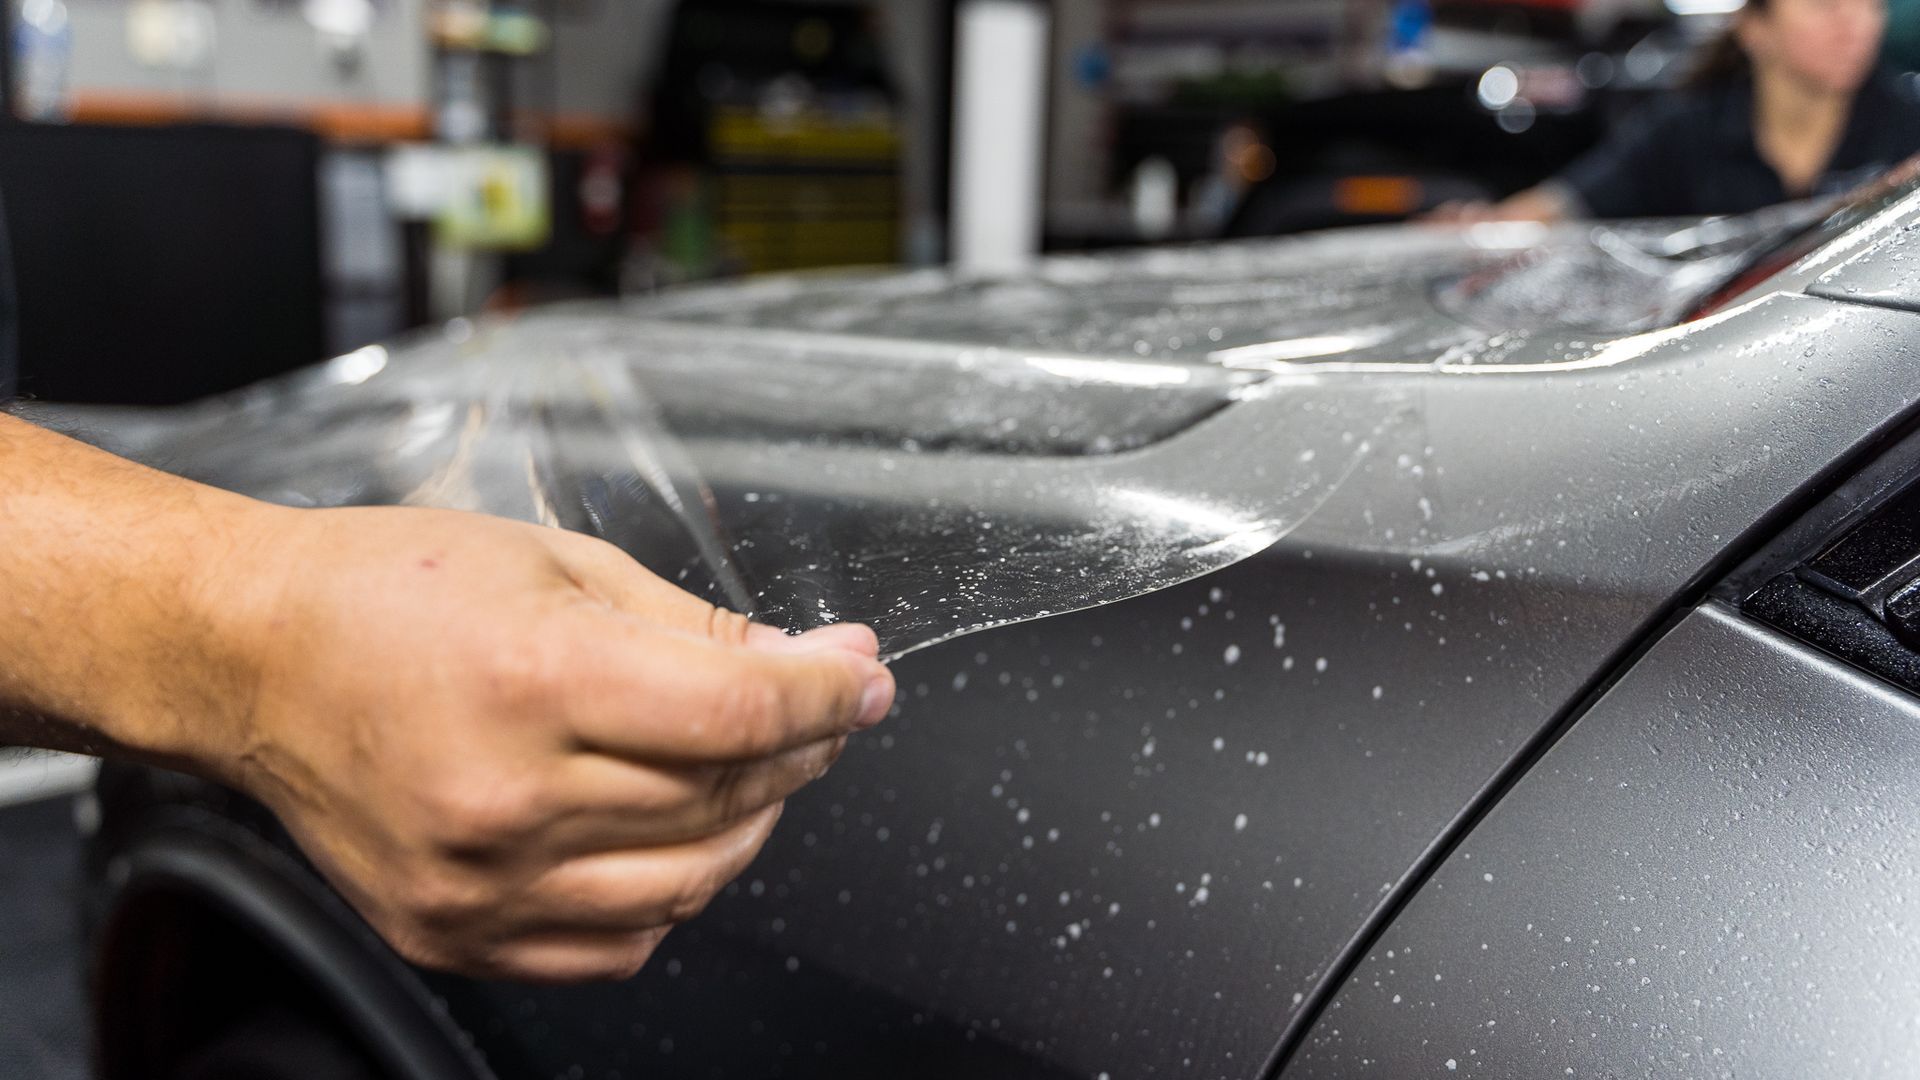
A slow, steady pull at an angle of less than 45 degrees keeps tension low on the paint layer beneath. If the film wrinkles easily or begins to bubble slightly, that's your cue it's ready to peel.
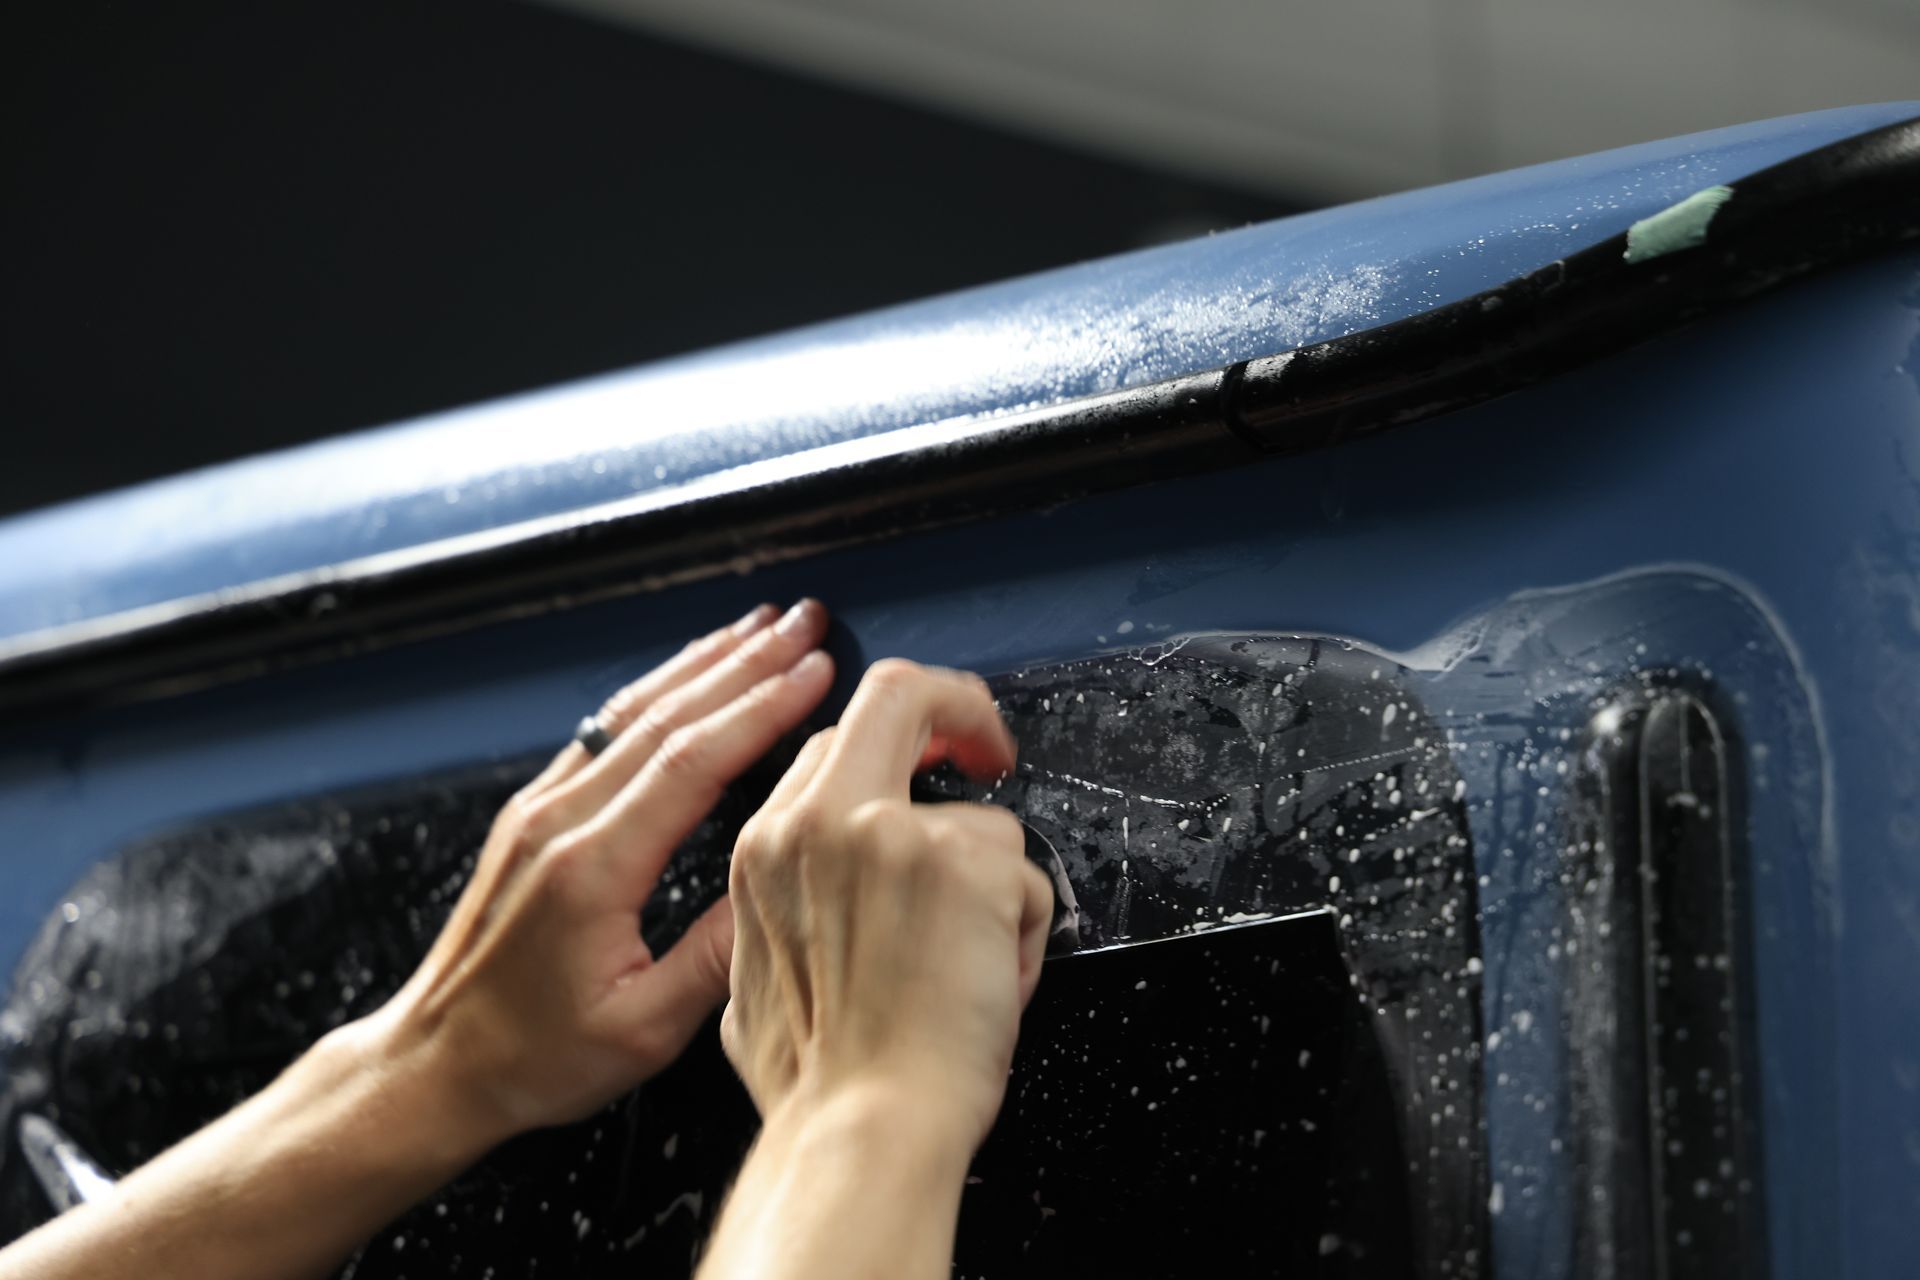
Steam method: Steam loosens adhesive bonds evenly without extreme surface temperatures. Keep your steamer wand moving slowly, held roughly 6 to 8 inches from the surface. Many restoration pros steam first to loosen film thoroughly, then switch to careful hand peeling with plastic squeegees to lift edges without gouging paint.
Residue removal: After peeling, patches of glue will cling stubbornly. Automotive-grade adhesive removers like 3M's formula or Koch-Chemie's Eulex dissolve glue safely when applied with a lightly soaked microfiber towel and allowed to sit for a minute before gentle rubbing. Always avoid harsh solvents like brake cleaner, which aggressively attack paints. After residue removal, wash your car with automotive soap and apply wax or sealant to restore protective layers.
Step-by-Step Removal Guide
Preparation: Park your vehicle in a shaded place, ideally between 70°F and 90°F. Direct sunlight causes uneven heating, increasing the chance of tearing or residue left behind.
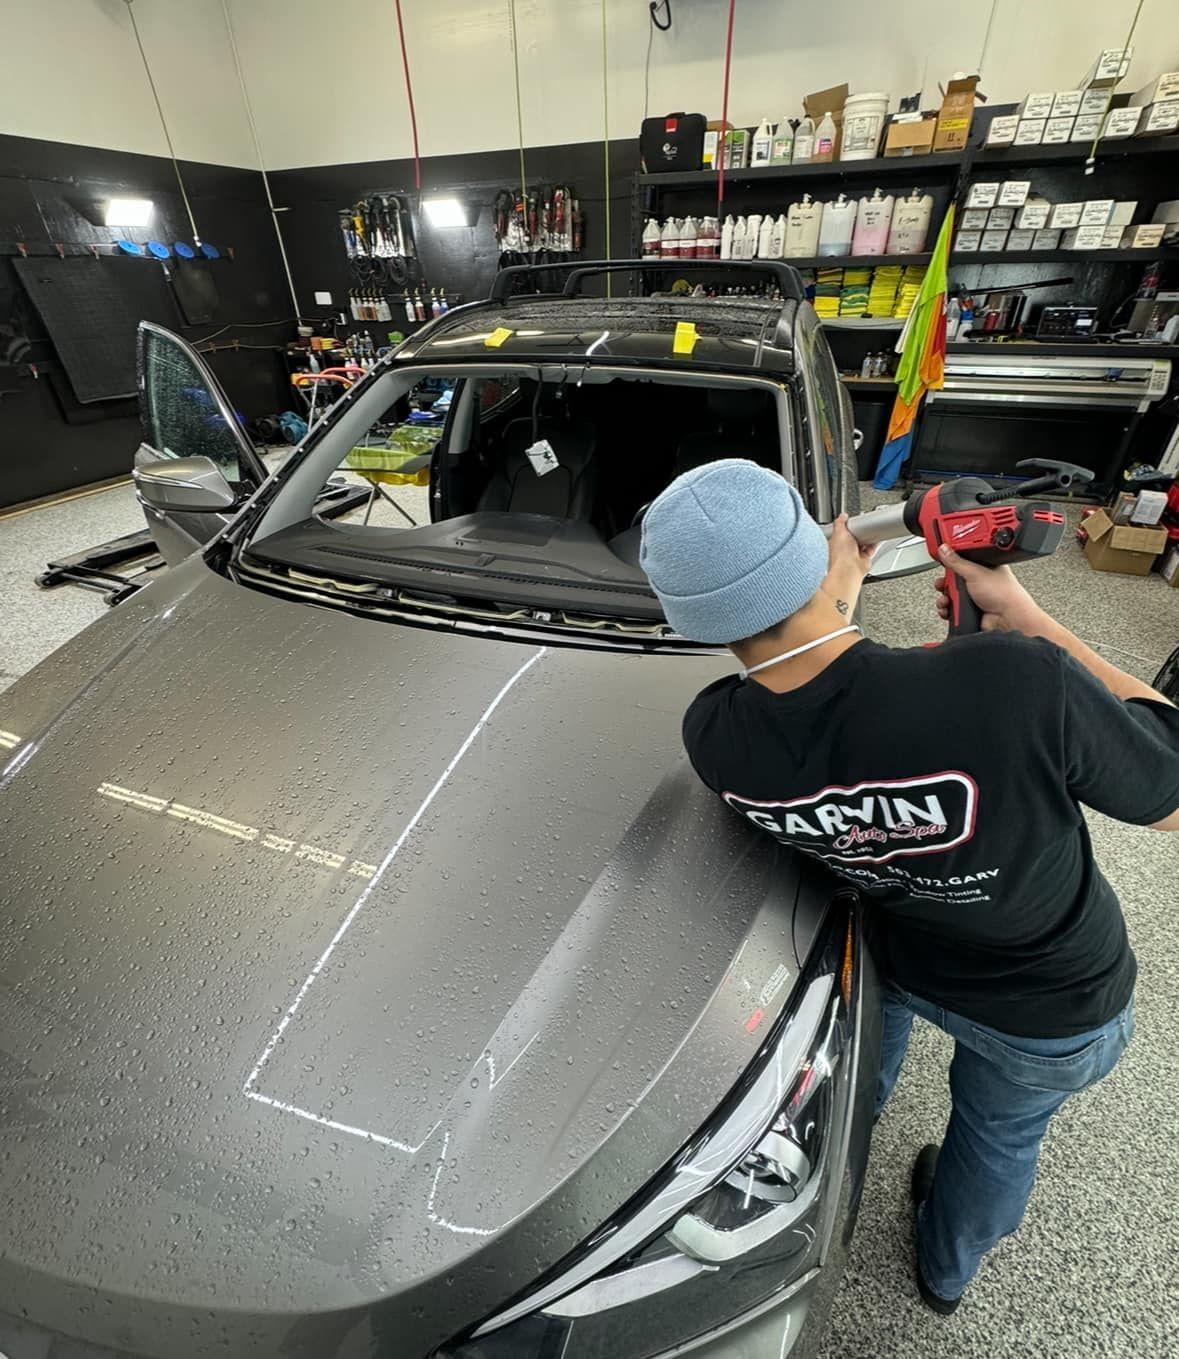
Heating: Using a heat gun or hairdryer on medium setting, move it steadily back and forth over a small section for 30 to 60 seconds. Keep the tool moving to avoid damaging delicate panels or cracking clear coats.
Peeling: Begin at a corner or edge using a plastic razor blade. Pull the film slowly at an angle between 45 to 90 degrees. If you notice resistance, apply more heat before continuing instead of forcing it.
Adhesive cleanup: Apply Eulex or Koch-Chemie products, let them sit for a couple of minutes, then gently wipe with a microfiber cloth. Avoid household solvents that may degrade your clear coat.
Final wipe-down: Use clean microfiber towels dampened with isopropyl alcohol to remove every last bit of residue. This restores clarity and prepares your car for waxing or fresh PPF installation.
Remember, this entire process resembles unwrapping something delicate. Rushing increases risks while gentle persistence preserves value and safeguards your investment.
Assessing Surface Condition Post-Removal
After removal, your vehicle's paint needs a thorough inspection under good lighting. Look for discoloration where the original shade has shifted, scratches from scraping tools or degraded adhesive, or areas where the finish feels uneven or dulled.
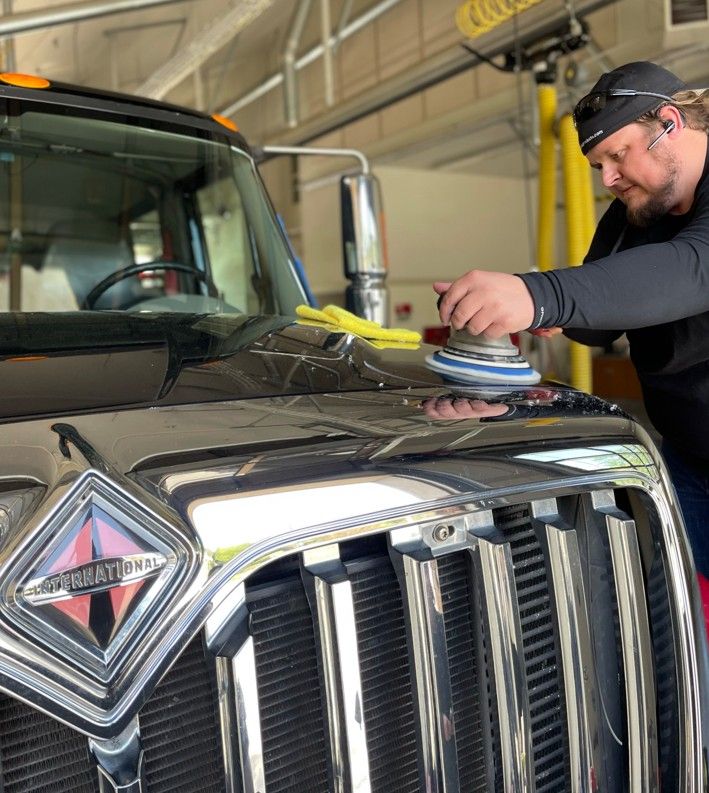
Discoloration often occurs if PPF has been on beyond its 5-year lifespan or exposed to harsh sunlight unevenly. Many such cases respond well to polishing and paint correction techniques. A quality polishing compound paired with a dual-action polisher can buff out mild haze and restore lost gloss without aggressive abrasion.
For fine scratches, specialized polishing compounds diminish their appearance by smoothing over the clear coat. For deeper scrapes through to paint base layers, touch-up paints combined with clear coat pens restore visual consistency. Work section by section, using both natural daylight and focused artificial light to reveal imperfections. Document findings with photos before starting any corrections.
Ideal polish conditions hover between 60°F and 75°F (15°C to 24°C). If you detect questionable areas, wait a day or two after removal before applying polishes, as freshly removed adhesives sometimes leave microscopic residues that influence performance.
Seeking Professional Help
DIY removal might seem tempting, but it's not always the best route. Many car owners attempting DIY PPF removal end up needing professional help due to stubborn adhesive, tearing film, or unexpected paint damage.
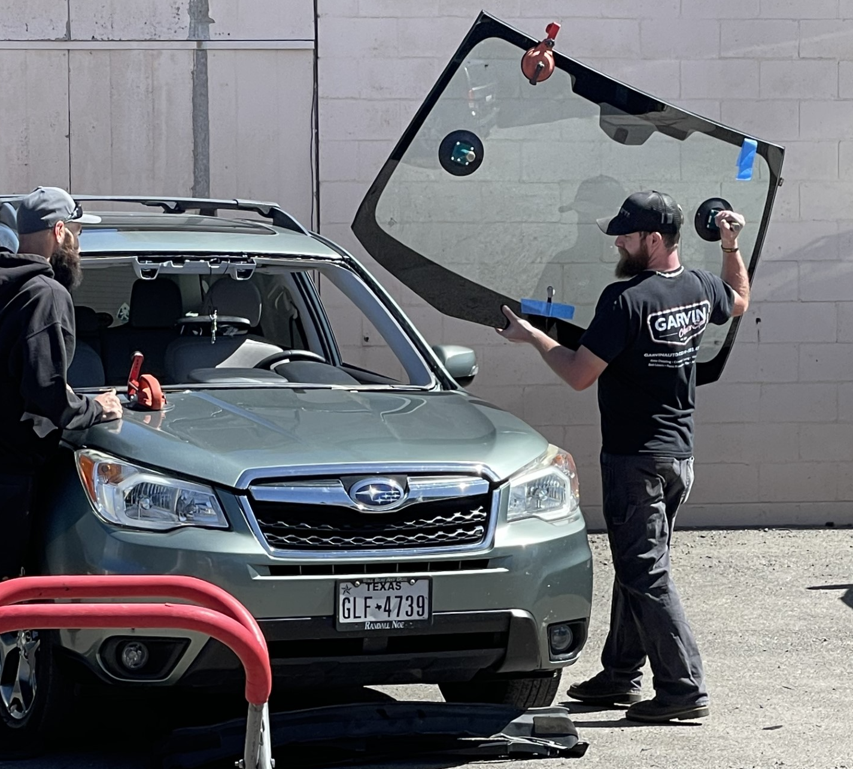
Professionals use specialized equipment like infrared heat lamps, plastic scrapers, and premium products. They also understand the nuances of different vehicle paints and plastics, tailoring their approach for harder painted metal versus softer plastics like bumper caps or side mirrors.
If you're uncertain about tackling PPF removal or want to minimize risk altogether, consider professional assistance. Visit a trusted and certified detailers skilled in safe PPF removal near you. Investing in professional help not only protects your paint job but also preserves your vehicle's value in the long run.
Don’t Risk Paint Damage With DIY PPF Removal
Old or failing paint protection film can hide defects and reduce your vehicle’s appearance. The experts at Garvin Auto Spa use controlled heat techniques, professional adhesive removers, and precision tools to remove PPF safely while preserving your paint’s finish.
Call us at 503-472-4278 to schedule a consultation today for a professional and safe PPF removal.
FAQs on Paint Protection Film Removal
1. Can paint protection film be removed without damaging paint?
Yes. PPF can be removed safely when heat is used to soften adhesive and the film is peeled slowly with plastic tools. Professional removal minimizes the risk of paint lifting or residue.
2. How long does PPF removal take?
Removal time depends on film age and coverage. Partial PPF removal may take 1-2 hours, while full-body removal can take 4-8 hours or longer for older installations.
3. Does removing PPF leave adhesive residue?
Some adhesive residue is normal, especially with aged film. Automotive adhesive removers and microfiber cleaning safely dissolve residue without harming paint.
4. Can old PPF damage paint during removal?
If PPF has degraded, hardened, or was installed over repainted panels, there is a higher risk of paint lifting. Controlled heat and professional removal techniques reduce this risk significantly.
5. What tools are needed to remove PPF safely?
Common tools include:
- Heat gun or hairdryer
- Plastic razor blades
- Steam cleaner (for stubborn film)
- Adhesive remover
- Microfiber towels
- Avoid metal tools that may scratch paint.
6. Is DIY PPF removal recommended?
DIY removal is possible for newer film, but older or full-body installations are best handled by professionals to prevent paint damage and adhesive issues.
7. How do I know when PPF should be removed?
Signs include:
- Yellowing or discoloration
- Bubbling or peeling edges
- Cracking film
- Reduced clarity
- Adhesive breakdown
- Most PPF lasts 5-7 years before replacement is recommended.
8. Can I install new PPF immediately after removal?
Yes, but the paint should be cleaned and inspected first. Paint correction may be recommended to restore gloss before applying new film.
9. Does PPF removal affect resale value?
Proper removal can improve resale value by restoring paint clarity. However, improper removal that causes scratches or residue may negatively impact appearance and value.
10. Should paint be polished after PPF removal?
Light polishing is often recommended to remove haze, adhesive marks, or minor imperfections and restore uniform gloss before waxing or reapplying protection.